Quick Setups at High Altitudes: Tips for Pitching Your Mountaineer Tent

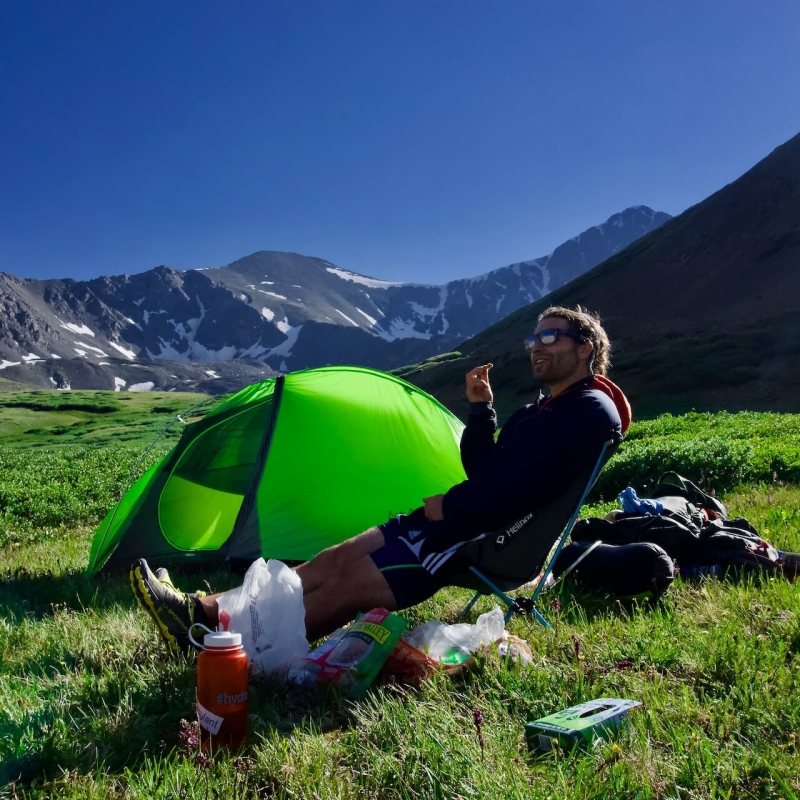
Mountaineering often involves camping and sleeping at high altitudes where weather conditions can be extreme and unpredictable. Having a sturdy and reliable tent that can be set up quickly is essential for shelter and safety.
For mountaineers, a high-quality mountaineering-specific tent designed for alpine environments is a worthwhile investment. Here are some tips for a fast and effective setup of a mountaineering tent at high altitudes:

Choose an Appropriate Tent Site
Choosing the right tent site is one of the most important steps for a quick and successful setup. Here are some key factors to consider:
Shelter from Wind and Weather
At high elevations, intense winds and storms are common. Seek out sites that provide natural shelter and blockage behind boulders, ridges or stands of trees. Avoid pitching tents on exposed summits or slopes.
Sturdy and Flat Ground
Look for relatively flat areas clear of sharp rocks and uneven surfaces that could stress the tent floor. Soft-yielding surfaces should be avoided as stakes will not hold well. Hard-packed dirt, gravel or snow can make for sturdy tent sites.
Drainage and Run-Off Channels
Make sure the site is not located within a drainage area or path where snowmelt or rain can channel through. Avoid pits, dips and low points. Look for elevations that will stay dry.
Proximity to Glaciers and Snowfields
Do not set up tents too close to glaciers, snowfields or avalanche chutes where there is danger of slides or shifting ice overnight. Maintain a safe distance of at least several hundred feet.
Privacy and Shelter from Other Parties
Look for secluded sites away from other mountaineering parties when possible for privacy. Alternate routes and timings if necessary. However, do not sacrifice safety for solitude.
Emergency Camp Sites
When the weather deteriorates unexpectedly and time is short, focus first on finding shelter from the wind and establishing a safe camp. Refine and improve the setup when conditions improve.
Preparing the Tent Site
After choosing a site, prepare the surface for the best stability:
- If camping on snow, stomp down and flatten the area thoroughly, creating a hard, level platform. This prevents sinking and shifting overnight.
- Clear any sharp rocks, sticks and debris that could damage the floor. Dig trenches around the site perimeter to keep rain from pooling underneath.
- If setting up on a soft mountain tundra, use available rocks and gear to create a flat, sturdy platform.
Unpack and Assemble the Tent
Setting up quickly and efficiently requires practice and organization:
- Keep the tent body, poles, stakes and other accessories together in a stuff sack for fast access.
- Unpack the tent body first and spread out on site, entrance facing downwind.
- Assemble the poles correctly before inserting them into sleeves to ensure proper fit.
- Stake down the corners first before erecting the poles for maximum hold on windy sites.
- Attach guy lines and remaining stakes at angles to reinforce the structure before fully tensioning.
Position Doors and Entries
For the fastest access and best shelter from wind:
- Face doorways perpendicular to prevailing winds rather than directly into the wind.
- At lower elevations where the wind is lighter, orient the door east to reduce morning glare and heat gain.
- For snow camping, position entries on the leeward side away from spindrifts. Dig trenches around the door.
- On exposed ridges and summits, be ready to reposition the tent to adjust for shifting or changing winds.
Final Checks and Reinforcements
Before retiring to your tent for the night, make the following final inspections:
- Double-check check stakes and guy lines are properly tensioned at right angles.
- Look for any loose pole joints and tighten adjusters as needed.
- Scan for any pooling rain or snowmelt and dig drainage trenches if necessary.
- At dusk, add reflective guylines or markers for visibility.
- Set up a separate gear vestibule area if possible to store items away from the main tent.
- Prep gear like headlamps, stove, shovel and boots, so they are accessible from the tent.
- Store food securely out of reach from passing wildlife if not in bear-proof storage.
With the right process, a mountaineering tent can be set up quickly and securely to protect against the harshest alpine conditions. Follow these tips to pitch tents efficiently for smooth high-altitude adventures.
Staking and Guying Out Mountaineering Tents
Staking out tents properly is critical for stability and wind resistance at high altitudes. Here are some key principles:
Use Snow and Sand Stakes on Soft Surfaces
Special wide-profile sand stakes or snow stakes work best to avoid pulling out from loose surfaces. Use all available stake points.
Favor Deadman Anchors When Needed
When stakes won’t penetrate the frozen ground, tie guy lines to buried or natural anchors like rocks, ice axes or skis.
Angle Stakes into the Wind
Pointing stakes diagonally rather than straight down gives better leverage against upward wind force.
Reinforce Anchor Points
Use multiple stakes per tie-down point and connect with the guy line for redundancy in the intense wind.
Pre-Tension Lines
Pull all lines semi-taut before fully tensioning to evenly distribute forces on the tent structure.
Check Tension and Add Snow Weights
Make sure guy lines are tight but not so taut that they distort pole structure. Add weighted items as needed.
Set Corner Guy Lines First
Start by staking out four corners first to keep the tent centered before adding the remaining ties.
Check Throughout the Night
Expect to make rounds to check for loose stakes, accumulated snow loads and slack in guy lines.
Special Considerations for Stormy Weather
Mountaineers need to take additional precautions when storms strike:
- Seek natural windbreaks and anchor tents behind boulders or walls.
- Avoid narrow ridge crests and exposed overlooking slopes during high winds.
- Be ready to move the tent to an alternate site if existing anchors loosen or fail.
- Plan escape routes and identify backup shelters like snow caves.
- Carry full snow load on tents to prevent wind lifts and kiting.
- Set up a backup tent, even a small emergency bivy if possible.
- Keep essentials like puffy jackets, food and stoves inside in case they are forced to remain tentbound.
- Be prepared to sit out storms for multiple days until it is safe to move.
Additional Anchors and Reinforcements
For extreme wind conditions, additional anchors can help fortify tent security:
Snow Walls and Dams
Stack snow blocks around the tent perimeter to create protective barriers and dams.
Snow Flaps Over Entries
Dig wide trenches around doors and pile snow flaps over entrances to shield them from the wind.
Gear Anchors and Weighting
Attach extra guy lines to heavy objects like fuel cans, rucksacks and snowshoes.
Redundant Poles and Overhead Ridgepoles
Add hiking poles overhead or multiple center poles for extra structural redundancy.
Snow Trenches and Caves
Dig large trenches around tents or tunnels into small snow caves for supplemental shelter.
Backup Shelters and tents
Have a reinforced storm tent, emergency bivy or snow shelter prepared in case the primary tent fails.
Safety Considerations for High Winds
When experiencing severe high-altitude winds:
- Maintain tent ventilation to avoid dangerous buildup of carbon monoxide.
- Watch for pooling snow and melting, squeezing out if necessary.
- Reinforce vestibules and gear storage areas which cause more abuse.
- Be prepared to temporarily take down rainflies if wind threat exceeds precipitation.
- Have emergency repair items like duct tape, guy line and poles accessible.
- Know when it is time to abandon tents altogether and seek natural shelters instead.
With proper precautions, mountaineers can safely and efficiently pitch tents at high altitudes to weather even the toughest alpine storms. Follow these tips to make quick camp setups for successful climbs above the tree line.
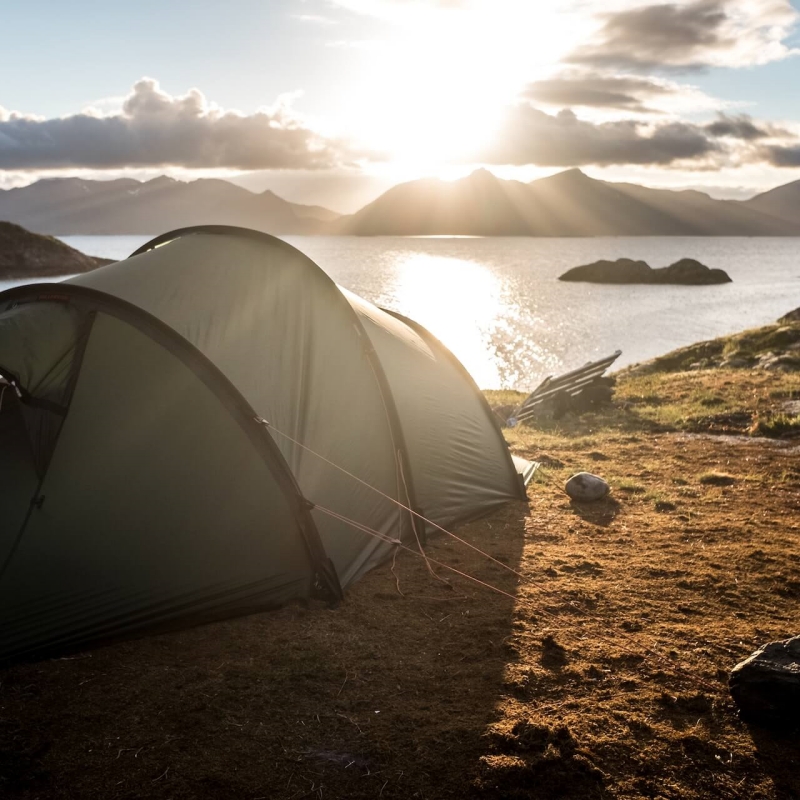
Selecting Durable and Storm-Worthy Tents
Picking a mountaineering tent designed for the extreme demands of high elevations is key. Here are the top features to look for:
- Dome or semi-geodesic shape for greatest wind shedding.
- Robust commercial-grade rain fly and floor materials.
- Strong yet lightweight aluminum poles and pole junctions.
- Multiple interior pockets, loops and tie-downs.
- Wide-profile adjustable guy line attachments.
- Fine mesh and window cover to manage condensation.
- Rapid pitch design with color-coded clips and poles.
- Accessory pole and stake storage pockets.
- Three or four-season rating with an extended temperature range.
- Unique adaptations like vestibules, dual doors and pole crossings.
Leading Brands and Models
Many top gear companies produce specialized mountaineering tents engineered for alpine conditions. Here are some excellent options to consider:
Black Diamond Eldorado
A classic dome tent with a simple setup for technical climbs. Offers dual entrances and vestibules.
Mountain Hardwear Trango
A favorite expedition tent with a dome-tent cross design. Highly reinforced for wind and snow loads.
North Face Assault
Built for climbers and winter camping with easy pitch options. Features overlapping pole system.
MSR Access
The spacious semi-geodesic tent works well for multiple occupants and base camping. Sheds heavy snow.
Hilleberg Jannu
Legendary Swedish company renowned for bomber construction. Tunnels add interior space.
Big Agnes Summit
A lightweight tent for technical ascents has a one-pole pitch and fits multiple pads.
Innovative modern design with chevron-style vestibules and cross-over poles for strength.
Matching Tents to Trip Objectives
There is no universally perfect single tent. Matching the tent design and capacity to the type of trip and objectives is key:
- Sol foast-and-light peaks -> Focus on rapid pitch single wall tents.
- Multi-day expeditions and high camps -> Prioritize livability and space for occupants and gear.
- Technical ice and rock routes -> Emphasize low weight and single pole simplicity.
- Winter snow camping -> Seek out designs that can carry heavy snow loads.
- Stormy shoulder season trips -> Favor sturdiness and wind shedding over pack weight.
- Approach treks and base camping -> Look for easy ingress/egress and vestibules.
Caring for your Mountaineering Tent
Proper care and maintenance will ensure your mountaineering tent lasts for seasons:
- Take time to seal all floor and fly seams before use.
- Use dedicated tent footprint groundsheets when possible.
- Limit indoor cooking to vestibules to reduce interior condensation.
- Dry tents thoroughly between trips and store them loosely.
- Wash or replace soiled tent floors as abrasion degrades fabrics.
- Repair any torn mesh or small rips immediately with bargain kits.
- Replace broken pole sections promptly from the manufacturer.
- Wash and re-waterproof the fly periodically as materials wet out.
A reliable mountaineering-grade tent and smart setup skills are essential for safe camping at high elevations. Follow this comprehensive guide to quickly pitch tents in demanding alpine environments. With practice, you will master efficient setups to maximize time focused on mountain adventures.